Struggling with inconsistent aim and losing critical gunfights? The issue often isn’t your mechanics — it’s your gaming mouse sensitivity settings. If your sensitivity is too high, you’ll overcorrect. Too low, and you’ll lose crucial reaction time. This guide is built to solve that exact problem with a clear, step-by-step method to find the sensitivity that matches your hardware, grip, and playstyle. Instead of copying pro players, you’ll learn a proven testing framework used in competitive environments to build lasting muscle memory and consistent precision. By the end, you’ll have a reliable process to fine-tune, test, and confidently lock in your optimal setup.
The Language of Aim: DPI, Sensitivity, and eDPI Explained
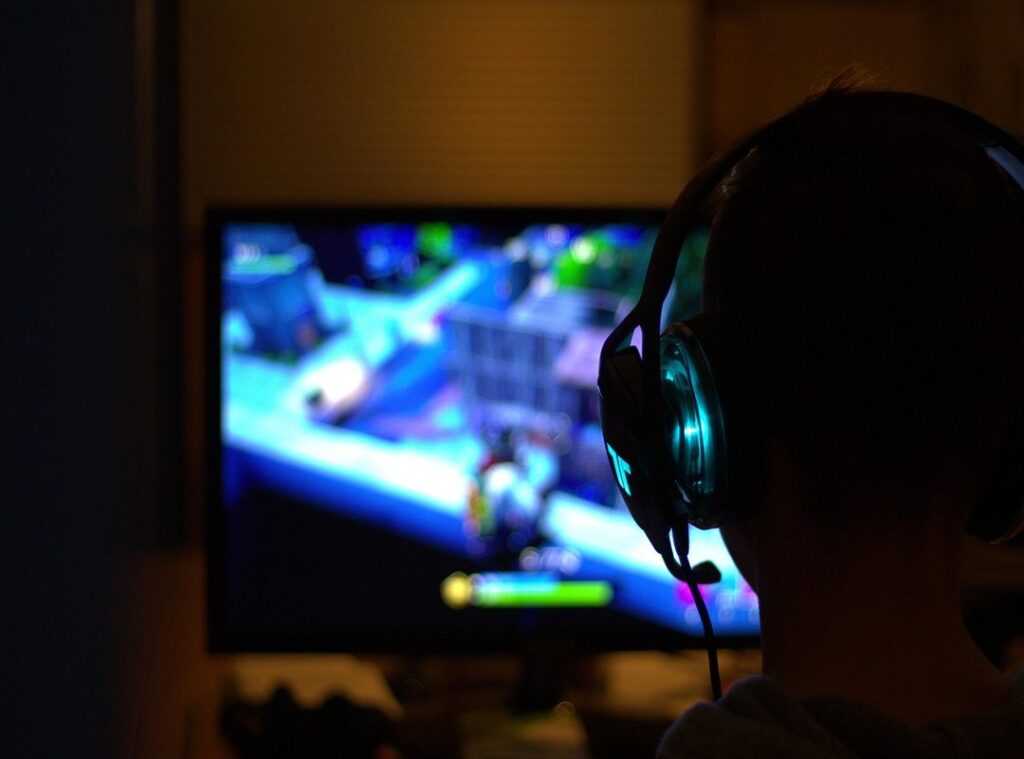
By fine-tuning your keyboard and mouse settings for optimal precision, you can significantly enhance your gameplay—especially when navigating the subtle shifts in strategy highlighted in our article on Understanding Meta Shifts in Competitive Seasons.
Before you tweak anything, let’s slow down and define the terms that actually control your aim. Otherwise, you’re just sliding bars and hoping for magic (we’ve all been there).
DPI (Dots Per Inch) is your mouse’s hardware sensitivity. In simple terms, it measures how far your cursor moves on screen for every inch you move your mouse. Higher DPI means more movement with less effort. Most players stick to 400, 800, or 1600 because these values track consistently on modern sensors.
Next, In-Game Sensitivity is the software multiplier inside your game. It takes your DPI and scales it up or down. Think of it as a volume knob for your mouse input. This is usually what players adjust when dialing in gaming mouse sensitivity settings.
Finally, eDPI (Effective Dots Per Inch) equals DPI × Sensitivity. This number reveals your true sensitivity. For example, 800 DPI × 0.5 sensitivity = 400 eDPI. Someone else could use 400 DPI × 1.0 and land at the same 400 eDPI—identical feel, different setup.
So why does this matter? Because eDPI lets you compare settings accurately across players and games. Once you understand that, you stop guessing—and start optimizing with purpose.
Why Copying Pro Settings Fails (And What to Do Instead)

A common mistake aspiring players make is copying their favorite pro’s settings and expecting instant results. It sounds logical—if it works for them, it should work for you, right? Not quite.
Research on motor learning shows performance improves when movements are personalized and repeated consistently, not when constantly adjusted to external models (Schmidt & Lee, Motor Control and Learning). Muscle memory is individual. Your brain builds precision around your specific setup.
Sensitivity depends on:
- Mouse weight and shape
- Grip style (palm, claw, fingertip)
- Mousepad size
- Arm vs. wrist aiming preference
Pro players optimize their gaming mouse sensitivity settings around their biomechanics and training volume—often 6–10 hours daily. A 2023 aim-training case study from KovaaK’s community showed players improved accuracy faster after calibrating settings to comfort rather than copying pros.
Counterargument: copying gives you a “pro baseline.” True—but without matching hardware and habits, it’s like wearing someone else’s prescription glasses (blurry results guaranteed).
Build your own foundation. Consistency beats imitation every time.
The Four-Step Method to Finding Your Perfect Sensitivity
Finding your ideal sensitivity isn’t magic—it’s method. And in my opinion, most players overcomplicate it. They copy a pro’s settings, lose three matches, and blame their aim (when really, it’s just unfamiliar input). Instead, follow this structured, iterative process using an aim trainer or your game’s practice range.
Step 1: Establish a Baseline
First, set your mouse to 800 DPI (dots per inch, meaning how far your cursor moves per inch of physical mouse movement). It’s a widely accepted standard because it balances precision and speed. From there, adjust in-game sensitivity so moving your mouse from the center to the edge of your mousepad gives you a comfortable 180-degree turn.
Why 180 degrees? Because in most FPS titles—from Valorant to Call of Duty—you’ll constantly need to react to threats behind you (yes, even that one flanking Reaper). This baseline anchors your gaming mouse sensitivity settings in something practical, not random.
Step 2: The Large Adjustment Test (Tracking)
Next, track a moving bot’s head. Tracking means keeping your crosshair smoothly glued to a moving target.
If you’re dragging endlessly to keep up, your sensitivity is too low. If you’re zigzagging past the target, it’s too high. Make large adjustments here. Big problems need big fixes. Don’t be timid.
Some players argue low sensitivity is always superior for control. I disagree—if you can’t physically maneuver comfortably, precision won’t matter. (Your wrist will quit before your aim improves.)
Step 3: The Micro-Adjustment Test (Flick Shots)
Now switch to flicking between two static targets. A flick shot is a rapid, controlled snap to a target.
Landing short? Increase sensitivity slightly. Flying past? Lower it slightly. These changes should be tiny—think 0.05 increments. Pro tip: write down each value so you don’t spiral into guesswork.
Step 4: Lock It In
Finally—and this is where most players fail—stop adjusting. Play at least a week without touching the slider. Muscle memory (your brain’s ability to automate repeated movement) needs consistency.
And remember, your setup matters. A proper ergonomic gaming desk setup for long sessions prevents fatigue from sabotaging your testing.
Sensitivity isn’t about copying greatness. It’s about building it.
Essential Tweaks: Polling Rate and Windows Settings
Optimizing your sensitivity isn’t just about DPI. Two other settings are critical for competitive play.
-
Polling Rate: This is how often your mouse reports its position to your computer measured in Hz. Set it to highest value possible, typically 1000Hz, for responsive and smoothest tracking.
-
Disable Mouse Acceleration: Open Windows settings and turn off ‘Enhance Pointer Precision’. This removes unpredictable acceleration, so crosshair moves same distance every time.
For example, in CS2, tracking means flicks land like clockwork (think Neo dodging bullets). Pro tip: double-check gaming mouse sensitivity settings after driver updates.
Start with an anecdote about dialing in my aim: I used to tweak sliders every night, blaming losses on my gear. Once I committed to a single setting, everything changed. You’ve now completed the process of finding a personalized, optimized sensitivity setting. Instead of chasing magic numbers, you’re trusting a repeatable method. In my case, locking my gaming mouse sensitivity settings felt boring at first—no more excuses (and no more late-night rage adjustments). However, that boredom became freedom. With consistency, muscle memory compounds over hundreds of hours. So stick with it, refine thoughtfully, and let disciplined practice sharpen real skill.
Mastering Your Competitive Edge
You came here to dial in performance and finally stop losing fights because something felt “off.” Now you understand how precision, consistency, and the right gaming mouse sensitivity settings directly impact your reaction time, tracking accuracy, and overall control in high-pressure matches.
The difference between average and elite gameplay often comes down to refinement. Small sensitivity adjustments, tested with intention and paired with smart tournament tactics, eliminate hesitation and sharpen muscle memory. When your settings match your playstyle, your mechanics stop holding you back.
Don’t let inconsistent aim or poor setup cost you another ranked climb or tournament run. Take 15 minutes today to fine-tune your gaming mouse sensitivity settings, test them in real match scenarios, and lock in what feels controlled and repeatable.
If you’re serious about competing at a higher level, explore our in-depth breakdowns and proven multiplayer strategies trusted by competitive players. Get the insights, apply the tactics, and start winning more fights—starting now.
 Kyralith Zelthanna has opinions about gamer setup optimization tips. Informed ones, backed by real experience — but opinions nonetheless, and they doesn't try to disguise them as neutral observation. They thinks a lot of what gets written about Gamer Setup Optimization Tips, Game Industry Buzz, Expert Breakdowns is either too cautious to be useful or too confident to be credible, and they's work tends to sit deliberately in the space between those two failure modes.
Reading Kyralith's pieces, you get the sense of someone who has thought about this stuff seriously and arrived at actual conclusions — not just collected a range of perspectives and declined to pick one. That can be uncomfortable when they lands on something you disagree with. It's also why the writing is worth engaging with. Kyralith isn't interested in telling people what they want to hear. They is interested in telling them what they actually thinks, with enough reasoning behind it that you can push back if you want to. That kind of intellectual honesty is rarer than it should be.
What Kyralith is best at is the moment when a familiar topic reveals something unexpected — when the conventional wisdom turns out to be slightly off, or when a small shift in framing changes everything. They finds those moments consistently, which is why they's work tends to generate real discussion rather than just passive agreement.
Kyralith Zelthanna has opinions about gamer setup optimization tips. Informed ones, backed by real experience — but opinions nonetheless, and they doesn't try to disguise them as neutral observation. They thinks a lot of what gets written about Gamer Setup Optimization Tips, Game Industry Buzz, Expert Breakdowns is either too cautious to be useful or too confident to be credible, and they's work tends to sit deliberately in the space between those two failure modes.
Reading Kyralith's pieces, you get the sense of someone who has thought about this stuff seriously and arrived at actual conclusions — not just collected a range of perspectives and declined to pick one. That can be uncomfortable when they lands on something you disagree with. It's also why the writing is worth engaging with. Kyralith isn't interested in telling people what they want to hear. They is interested in telling them what they actually thinks, with enough reasoning behind it that you can push back if you want to. That kind of intellectual honesty is rarer than it should be.
What Kyralith is best at is the moment when a familiar topic reveals something unexpected — when the conventional wisdom turns out to be slightly off, or when a small shift in framing changes everything. They finds those moments consistently, which is why they's work tends to generate real discussion rather than just passive agreement.